

At Nordik Radiant, we specialize in hydronic heating. Based in the heart of Canada, in a climate where winter presents its challenges, we have developed particular expertise in an essential area: snow and ice melting. In this article, we will delve into the issues, solutions, and benefits of snow and ice melting in detail, highlighting our accumulated expertise in this specific field over the years.
Introduction
You are tired of shoveling or snow blowing on the cold winter morning just before working because your car is trapped with snow.
Snow and ice Melting System is a great alternative though expensive but it relieves lots of the pain that come with the winter chores such as
• Snow Blowing
• Shoveling
• Salting

Along with alleviating the labor intense commitment, Snow and Ice Melting System installed on a driveway for example reduce considerably risk of accident due to slip and fall.
Another advantage of a Snow and Ice Melting System is that it increases the longevity of your finished surfaces such as concrete, paving or asphalt.
We have seen in recent years, that SIM is becoming more and more popular in residential and light commercial project even if the initial cost of installation is high and the system consume lots of btu.
When considering such a system, the two main limitations are the cost and lack of proper design information. These two goes hand in hand. Just as any system need to be design accordingly so does a snow and ice melting system. The big hurdle as previously mention is both the installation cost and operation cost. Regarding the installing cost will indeed will be most of the time the market price. but when it come to the operating cost the answers depend on lots of variables such as:
• How much snow needs to be melted
• How quickly it needs to be melted
• How cold it is outside.
• Number of snow event
Based upon some of these standard conditions the operating cost will vary.
If a Snow and Ice Melting system is properly design, the efficiency the system will be very efficient. Design is definitely an essential aspect to consider when choosing to implement a Snow and Ice Melting system in any project.
Let's explore key design prerequisites to consider when preparing for a Snow and Ice Meting system installation.
1. Preparation of the area for Snow melting
Snow and Ice Melting system can be installed in a variety of construction methods such as concrete slab, steps, paving or asphalt.
Prior the installation of any tubing, the formation level1 need to be properly compacted to avoid mainly settlement and rutting under the structure. As per ASTM standard, the compaction rate should be as follows: 96 to 98% for soil, and around 101 to 103% for a compactable soil/sand base2
Once the underlying ground is compacted, insulation is put in placed to improve the efficiency of the system. Insulation is added both under the slab and to all exposed edges in this way reducing the heat loss into the ground and at the same time allowing the slab to heat at a greater rate which in turn lower the total operating costs.
Usually, most insulation is done with rigid polystyrene foam 1 to 2 inches thick. But my recommendation is to check with is your concrete specialist and they will be able to guide you if insulation is allowed by code or in your application (e.g., load-bearing cars), and what type and thickness to use.
2. Pex tubing installation
The Pex tubing is secured on wired mesh or rebar over the compacted grade with wire mesh or tie wraps at every 3 feet along a straight run. Where the Pex pipe make the 180-degree turn, there is 3 points of attach (on the top of the arc and 1 on each side of the arc). In such a way this prevent the Pex tube from floating or moving during the pour. For minimum concrete covering for the Pex pipe please refer your local building codes. (Usually, a minimum of 1½ inches of concrete)
There is other consideration such as:
• Which Pex to use Pex A or B (see our blog on this subject on our website)
• The tubing layout pattern
The tubing layout for SIM system is different from a radiant floor heating application. Usually in a typical radiant floor application the tube is installed in such a way the supply (warmest fluid) is directed first to the area where there is the greatest heat loss which happen to be in most cases the exterior wall. Whereas as in a SIM system to manage to have an equal heat distribution across the surface, the counter flow pattern (reverse Return) is highly recommended.

1 The sub-grade layer of a pavement is, essentially, the underlying ground. It is also known as the "Formation Level", which can be defined as the level at which excavation ceases and construction starts
2 https://www.astm.org/d0698-12r21.html (ASTM D1557-91)
3. https://nordikradiant.com/blogs/news/what-is-the-difference-between-pex-a-and-pex-b
• The length of loop
To avoid excessive temperature and pressure drop. The Pex tubing is divided into circuits, each having one supply and return to and from the manifold. to avoid the hassle of balancing the flow, it a good to keep all the circuit the same length. The table below show the maximum circuit length for specific pipe diameter:
|
Recommended Tube Spacing in concrete |
||||||
|
Snow Melting Load (Btu/hr.*ft) |
||||||
|
Tube size |
Max. Circuit Length |
100 |
150 |
200 |
250 |
300 |
|
½’’ |
150 ft |
9” |
9” |
6” |
6” |
6” |
|
5/8’’ |
250 ft |
9” |
9” |
9” |
6" |
6” |
|
¾’’ |
400 ft |
12” |
12” |
9” |
9” |
6” |
3. Heat Load Calculation for a snow and ice system
ASHRAE has develop most of the standard pertaining to energy requirement of Snow and Ice Melting systems. These are based on a number of variables such as geographical location, rate of snow fall, air temperature, humidity, wind speed and system performance expectations.
There are two main systems of classification: old ASHRAE and new ASHRAE. This enables the customer and to select the appropriate performance level using the snow- free area Ratio
• Ar = 1.0 Snow-Free Area of 100% - No accumulation during snowfall
• Ar = 0.5 Snow-Free Area of 50% - Some accumulation during snowfall
• Ar = 0.0 Snow-Free Area of 0% - Surface may be covered with snow during heavy snowfall, melting snow from the bottom of the layer.
The ASHRAE Old classification is as follow:
Class 1 – Residential and Light Commercial
• Output ranges of approximately 75 BTUs to 125 BTUs per square foot
• During heavy snowfall, accumulation can be expected
• 100% cover
Class 2 - Heavy Commercial
• Output ranges of approximately 125 BTUs to 175 BTUs per square foot
• During heavy snowfall, some accumulation may occur
• 25%-50% cover
Class 3 – Institutional and Industrial
• Output ranges of approximately 175 BTUs or more per square foot
• During heavy snowfall, no accumulation
• Bare, wet
To determine the number of BTUs per square foot needed to meet the selected class for the geographical location in Canada is somewhat limited. there are agencies that provide relevant information for design condition such as the National Research Council Canada through the Institute for Research in Construction.
Based on Information available from The National Research Council of Canada. The table below give the suggested output in BTU per square foot.
| City |
Class 1 100% snow cover during a heavy fall |
Class 2
25-50% snow cover during a heavy fall |
Class 3 Bare, wet |
| Edmonton | 70-110 | 110-150 | 150-230 |
| Winnipeg | 60-105 | 105-145 | 145-225 |
| Toronto | 70-90 | 90-100 | 100-185 |
| Ottawa | 60-100 | 100-135 | 135-220 |
| Quebec | 100-125 | 125-145 | 145-190 |
| Halifax | 85-120 | 120-135 | 135-275 |
Once the output in BTU per square foot is determined using the information above the heat source can be chosen. There are many different options that can be used for the heat source.
Heat source options:
• Dedicated boiler sized for this load
• Geothermal water-to-water heat pump
• Biomass or outdoor wood boiler
• Waste heat from industrial processes
• Rejected heat from commercial cooling system
4. Control

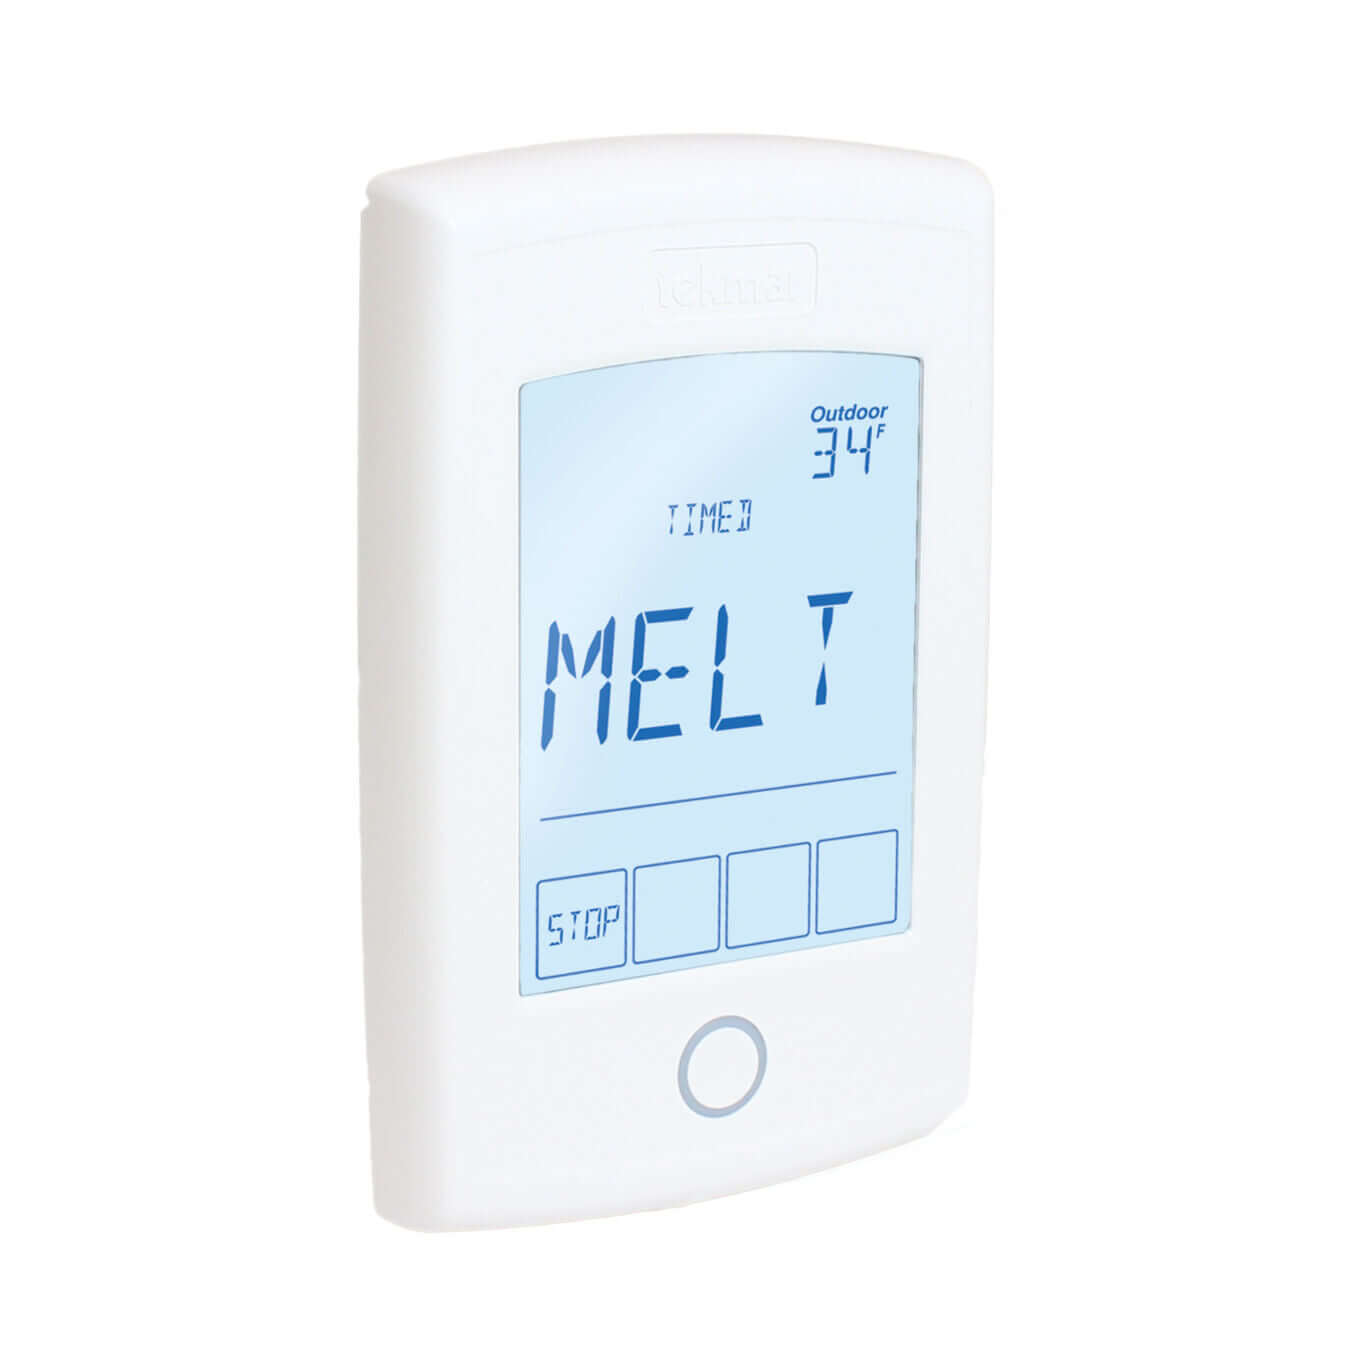
Controlling a Snow Melting and Ice system properly is critical to performance. Controlling the system is a good way forward to minimize energy waste. These systems work proactively better than they work reactively.
There are 3 main types of control strategies.
On/Off: System turns on with moisture + cold, turns off when dry
- The most economical in terms of annual operating costs
- May be fully automatic, timed, or use outdoor moisture sensor
Idle/Melt: Idles (i.e., runs gently) when dry + cold, heats up with moisture + cold
- Reduces response time to start melting
- Consumes much more energy to stay warm in between events
Always On: Constantly keeps outdoor surfaces warm, always ready to melt
- Electronic control will monitor supply/return fluid temperatures to modulate the fluid temperature and the heat output, as needed
- Will consume the most energy, if that’s a concern (e.g., waste energy)
Each of these control strategies has their advantages and disadvantages.
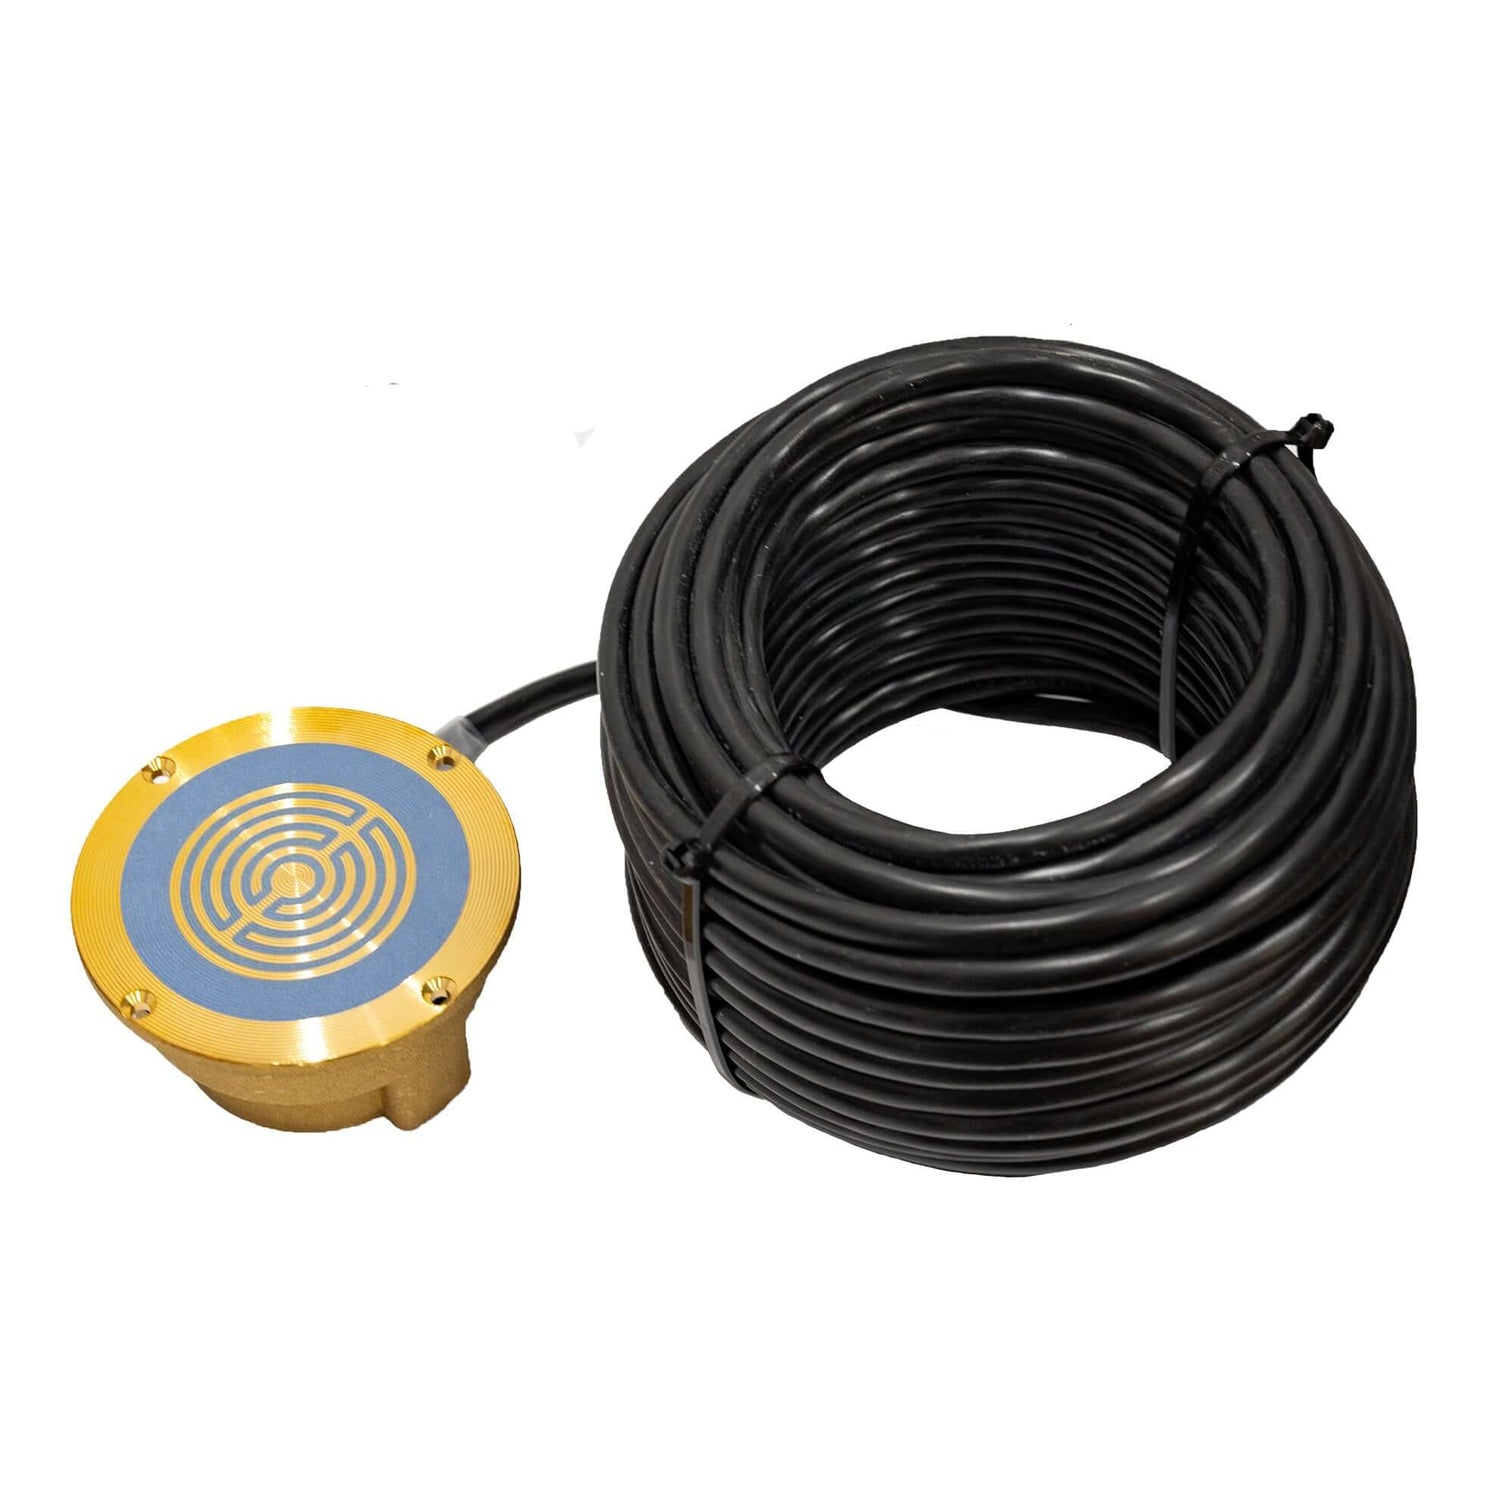
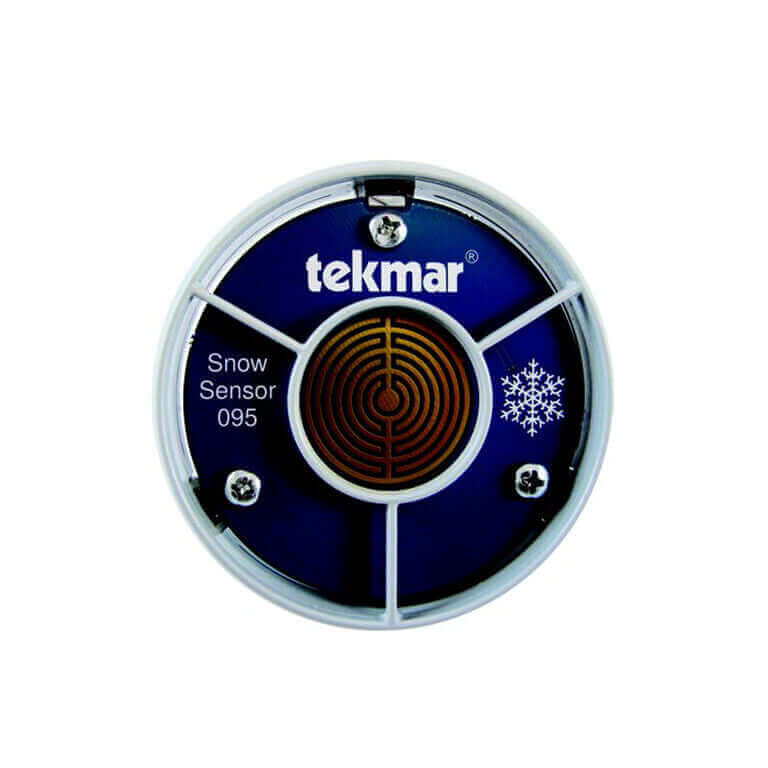
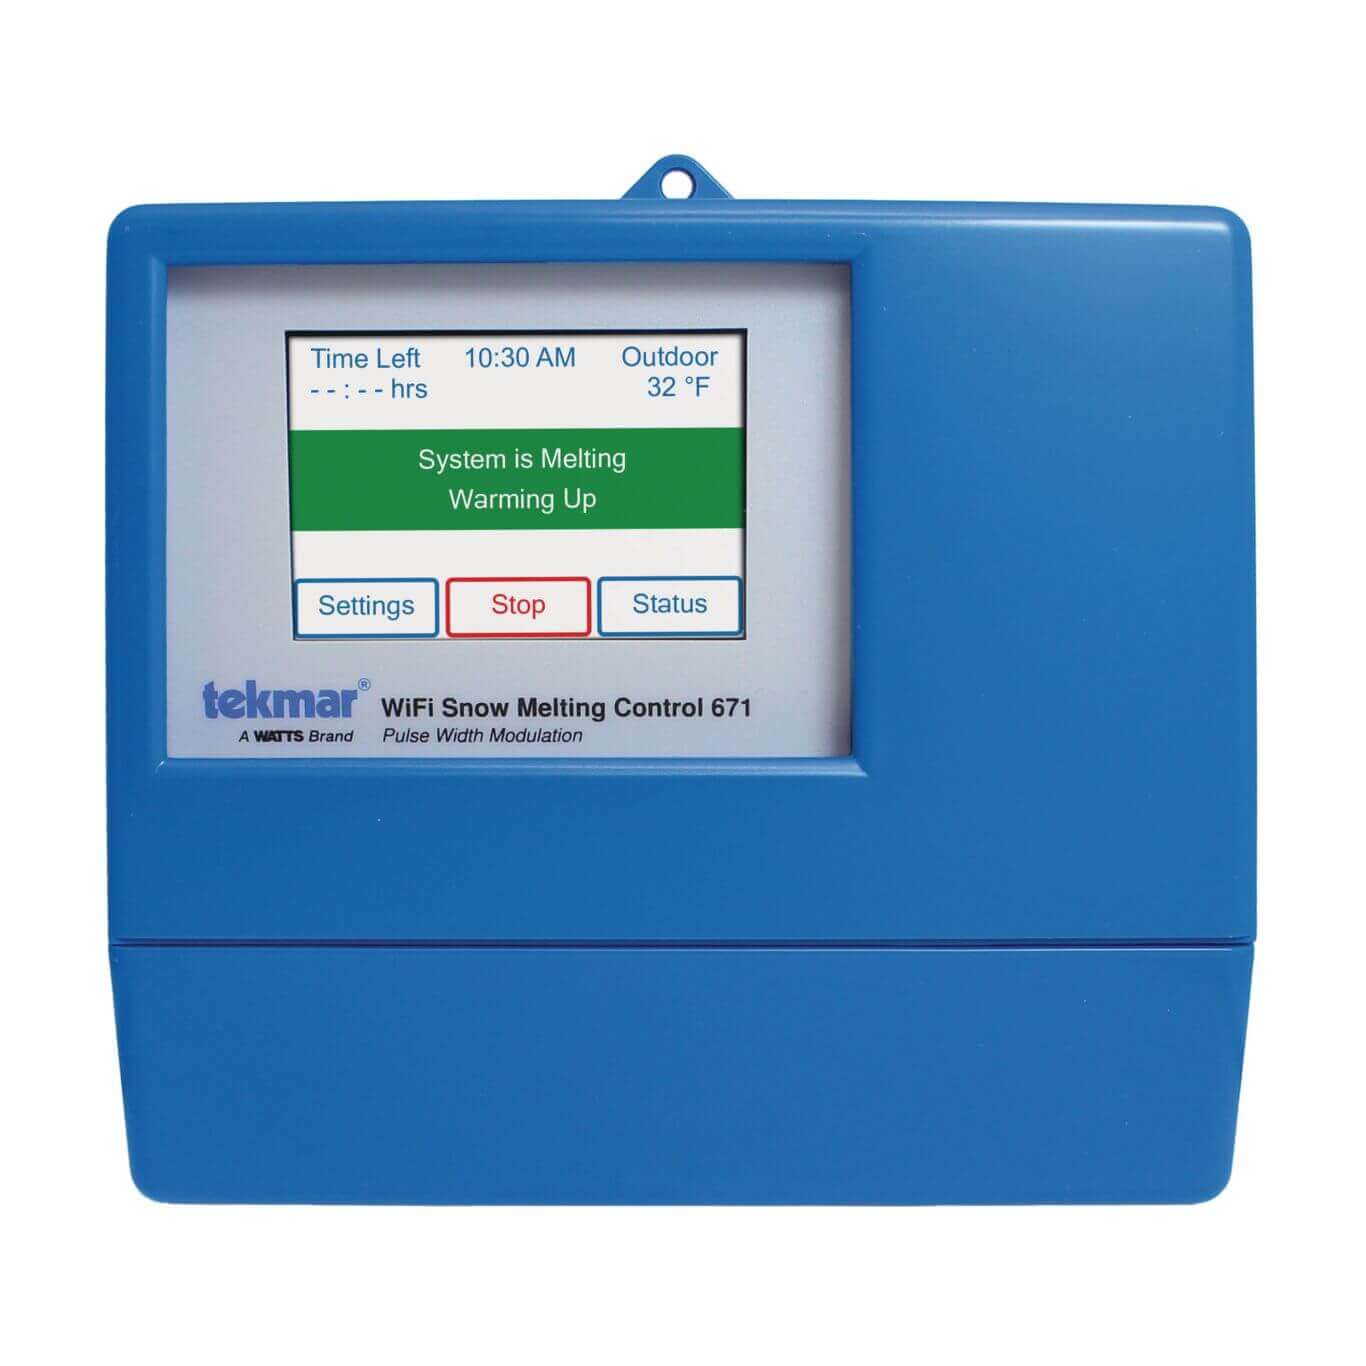
Several manufacturers offer ‘’smart “control which are tie into National Weather service or Environment Canada to predict incoming snow and activate the system before the first snow falls. Different type of sensor may be used to detect temperature change or moisture variation. We proposed on our online store these sensor.
5. Other Design Requirement
Freeze protection – the use of a freeze protection is essential in a snow and ice melting system. We recommended the use a mix proportion of glycol to water of 50/50.
Selecting the right size pump that has the capacity to equal to the system flow rate and a head equal to the system pressure loss is essential. Pump selection will be covered in our next blog.
Drainage is a very important aspect when designing a Snow and Ice Melting System. Just as rain, melted snow must have a good drainage path. Adequate slope must be provided for natural drainage. There must be control run-off so as not to create hazards. Also, in order to make sure that drain is not freeze pipe should be installed under and around the drain. Drain need to be connected to available storm sewer system as per the code requirements.

Conclusion
In conclusion, the importance of using a snowmelt system lies in its ability to enhance safety, protect property infrastructure, and reduce the time, effort, and environmental impact of snow removal. While the initial investment may be significant, the long-term benefits in terms of safety, property maintenance, and environmental stewardship make it a worthwhile consideration for property owners in regions prone to snow and ice accumulation.
As recognized experts in the field of snow melting, Nordik Radiant is your go-to source in Canada for reliable and effective solutions. Our online store offers a comprehensive line of quality products designed to meet the specific needs of snow and ice melting in various climatic conditions. You can make your purchases with confidence, knowing that we only offer proven and high-performing products.
Beyond our product selection, we also provide all the necessary support you may need. Whether you require assistance with installation, advice on system design, or even technical drawings for your project, our team is here to guide you every step of the way. Furthermore, our complete inventory ensures that you can quickly find the products you need without delay.
Choose quality, efficiency, and exceptional customer service with Nordik Radiant. Enhance your snow melting experience with our expertise by your side.
Visit our website to shop your snow and ice melting components or give us a call; we'll be delighted to assist you with your project.
OUR MOST POPULAR SNOW MELTING COMPONENTS
|
Snow and ice sensor |
Aerial sensor |
Snow Melting Control |
WiFi Melting Control |